Etsy

Crafting is infectious. Spread the disease, visit my etsy store!

Thursday, August 19, 2010

Upcoming tutorials...

P8150001

I'm taking up ATCs (artist trading cards)...not so much for the trading aspect, but because using such a small canvas has a surprising number of advantages.

P8160014

Okay maybe we're having a little TOO much fun. I invited a friend over and we each made one. Mine's the one on the left.

Other tutorials in the works:

P8160019

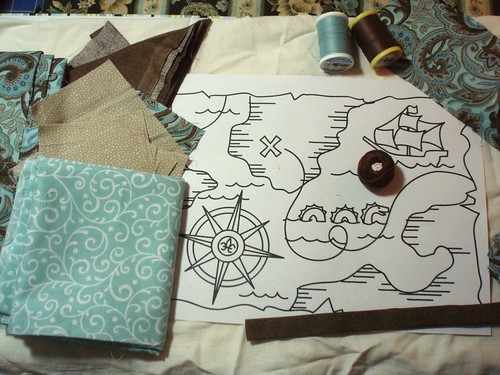
Using a pattern from Urban Threads to make a cover for the giant book I'm using to catalogue my embroidery stitches. It's going to take a while to design the cover, put together the pattern, quilt it, embroider it, and then teach other people how, but it'll be so worth it when it's done.

Last but not least...

P8180027

Did you know it's almost fall? I'm sorry to be the one to break the news. At least I'll be celebrating it with a centerpiece?

Wednesday, August 18, 2010

Craft Box Tutorial: Cluttertraps

P8150030

Besides crafts, I have several things that I love. I love containers, especially containers that are small enough to hold the goods for one project (portability is key). I also love the ability to make things I couldn't otherwise make. I'm not really good at woodworking, for example, so I can't make boxes. As such, I don't like throwing things away that have already done those things for me easily, especially not when I could upcycle them into something more functional. I like working with things you were supposed to throw away because, if you mess up, you can still throw them away.

Since I just got this done and it's a fairly easy tutorial, I figured I'd share how I did it so you can make your own cluttertraps.
P8010267

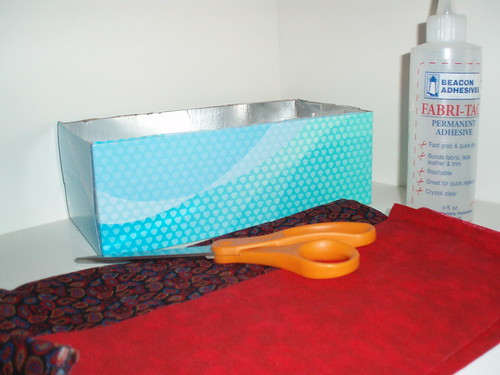
Supplies: Box (I cut the top off a kleenex box)
2 coordinating fabrics big enough to cover the box.
Fabri-tac or other fabric-friendly glue
Scissors
Toothpicks

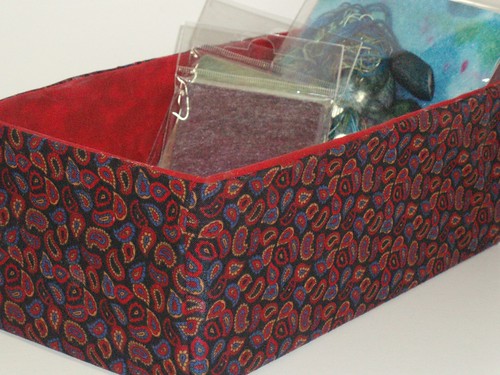
Pictures for a fabric covered box "cluttertrap" tutorial you can read all about on my blog!

Since this project was fairly easy and impromptu, I didn't do a lot of detailed photos. I mostly winged it.

Lining your box:

I took a fat quarter (it was big enough) and centered it over the box, then glued the bottom in place, paying special attention to the corners. Because I used fabri-tac, it didn't take long to dry. Then I was ready for the next step.

I cut one edge (for the inside only) flush with the corner, and the other edge about 1/2" past the corner. Then I cut the top edge about an inch or so past the top of the box. I did this with each of my sides. The one edge that curls around to the next side is so that no silver (or whatever color the interior of your box is) shows through when you line your box.

The trickiest parts to glue will be where your 1st and 4th side meet. To make it easier, apply glue to the inside of the side you're going to tack down starting about an inch away from the corner with the flush fabric edge. Also add a stripe of glue to tack down the half inch that folds around the corner to side two. Glue side one in place (remembering that the side that meets with the corner won't be tacked down) and smooth it out before the glue dries. Do this with sides two and 3, gluing down the entire side (instead of leaving the 1 inch space unglued). The trickiest part of side 4 will be where you have to tuck the edge of the fabric under side 1 (which is why you left it unglued). The rest of the lining should go on smoothly.

If you're having problems getting the edge fabric from side 4 under the fabric from side 1, you can use the edge of your scissors or a toothpick to tuck it underneath.

Once your sides are done, you can fold the lining over the top edge and glue it in place on the outside of your box.
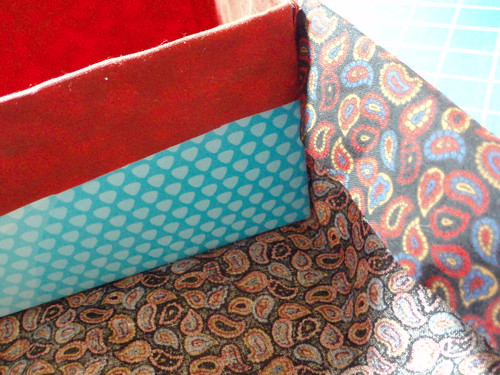
P8150022

Fabric shell for your box:

Now it's time for the outside.

I cut a piece of fabric that would be large enough to cover my entire box (adding about 2 inches to the final cut size for seam allowances). I then glued the box down in the center of the fabric.

Once it dried, I started bringing my fabric up the sides, folding under the fabric at the top and lining up my fabric/box top edges.

I did a little creative cutwork here to shorten the extra fabric that I knew I'd have on some of the sides, and a lot of creative folding. How I did it is fairly simple. The important thing is that your end product (the corner) should look like this.
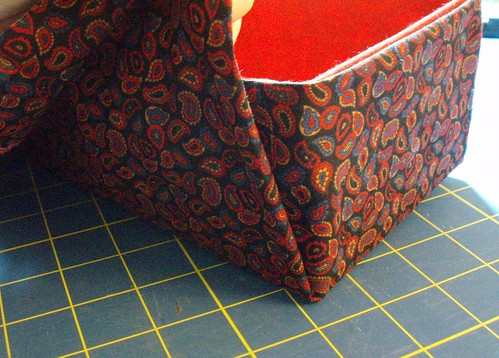
P8150024

To properly glue down the corners (and have them line up properly)...
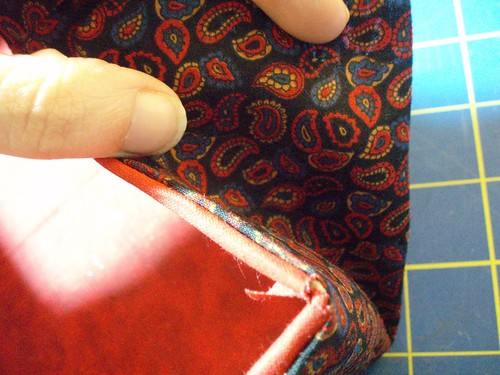
P8150027

You'll want to glue down over the bottom layer of fabric inside that triangle.

Once you get your outside tacked down and smoothed out properly, you might notice that the fabric gaps a bit because (to keep the glue from smooshing out and ruining your fabric) you glued a bit away from the edge.

Easy fix!
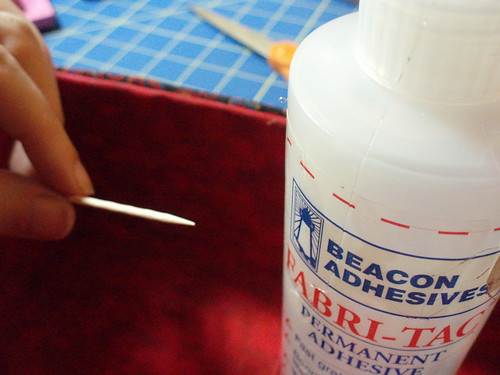
P8150028

Use the toothpicks to grab up some glue so you can apply it more precisely and seal up your edges.

If you used fabri-tac, it'll dry in a couple of minutes and you can start loading it with stuff.

When you see how easy it was, you'll want to make oodles in tons of different sizes. I'm trying my hardest not to start digging through my stash of shipping boxes to 'fix' them.

If you're looking for other craft ideas, you might want to check out the article I did last month listing some of the best new craft project ideas on the web. Some of mine are there, too, just in case you haven't had enough of my kamikaze crafting style.

Happy crafting!

Thursday, August 12, 2010

Zombie Fight Club and Other Crafts for Kids

I should totally make the post title an actual book. For kids. No? Don't crush my dreams!

Why the talk about Zombie Fight club? Well...

P8110009

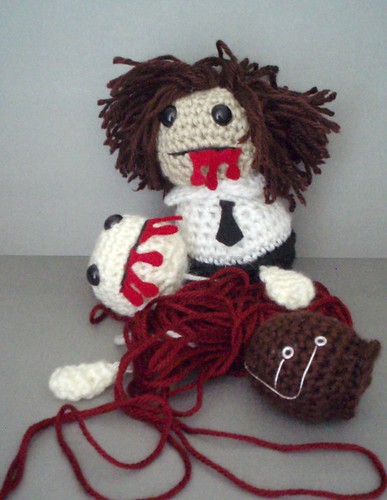
It all started, as the best stories do, when I was hurrying through making presents for someone's birthday party I was going to be attending in a few hours (Yes, they appreciated the zombies actually. I know some spectacular people!). I finally got the peices done for the 2nd zombie but I was feeling a bit of animosity towards the hair I was making for him (not part of the original pattern) and as I looked at all his bits I had a terrible, awful idea.

So, I had corporate zombie eat him. Problem solved.

I tweeted it. The owner of the book I got the patterns from was amused. They were amused at knithacker.com and actually blogged about it, then it got tweeted everywhere. Meanwhile...

P8110017

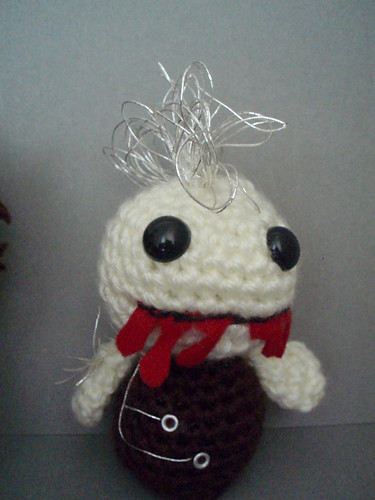
I was busy putting a wire mohawk on him, wrapping them separately in their packaging (putting an end to the fighting) and going to a birthday gathering.

How do crafts for kids get involved in this mess?

Fortunately for all of us, they're separate.

P8050324

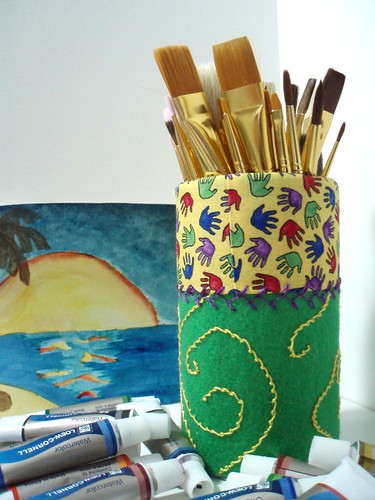
Yesterday, a tutorial was published telling people how to make this handy (and cute!) organizer to hold pencils, paintbrushes, or whatever else your heart desires. Want one? The tutorial is right here! And, there are more pics if you need help on my flickr.

I've not gotten much of a chance to publish (or blog) lately because I've been working so hard at getting my company off the ground. I'm surprisingly close! The finish line is in sight so I'm trying really hard to pull everything together for the launch. Got some great ideas coming through and I can't wait to unveil my kits. They'll be going to my Etsy store but if you're a shop (or you know a shop and would like them to carry my kits) or a teacher, you can contact me for discounts once my product is launched so stay tuned for that upcoming information! I can hardly believe it's finally coming together! It's nice when plans come to fruition.

Friday, August 6, 2010

Articles and Whatsits

I'm feeling accomplished this week, in spite of being backed up on things to do (when am I not behind?). First, I had an article published recently on how to take in a basic shirt, which is a great way to upcycle your wardrobe.

Also, I went to Maker Faire Detroit last weekend, and I have pictures! Want to see them? Clicky! It was incredible. Indescribably awesome. And, I hear they're coming back! I can't wait!

In other news:

P8050324

I'm currently waiting for a tutorial to go through publishing for this handy dandy upcycled piece. It was easy as pie.

In other, more business-related news...

P8050314

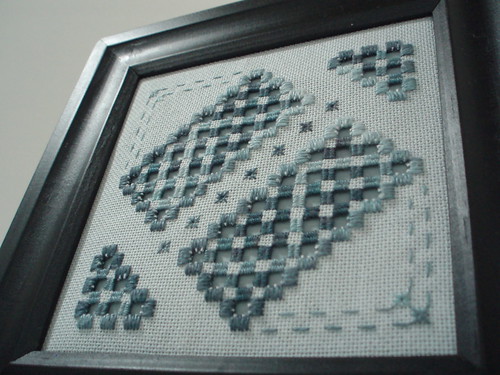
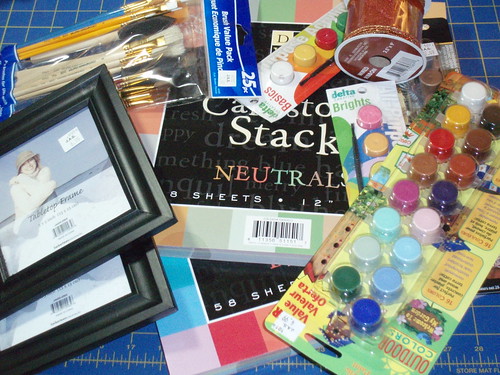
Those frames I bought were for samples of my upcoming kits. I also ordered most of the supplies I'll need so if you're looking to learn to do hardanger, educational kits will be in my etsy store as soon as I get all this sorted out. I'm so excited! Now I have to get better at putting together PDFs and I'll be all set!

This has been in the works for a long time. It's so nice to see it finally coming together. I can hardly believe it! So much work to do, but it'll be worth it.

Thursday, August 5, 2010

Troublemaker


P8040299, originally uploaded by rabid_designs.

I'm pretty sure I'm in over my head at this point. I barely know how to frame and I can't paint to save my life.