Besides crafts, I have several things that I love. I love containers, especially containers that are small enough to hold the goods for one project (portability is key). I also love the ability to make things I couldn't otherwise make. I'm not really good at woodworking, for example, so I can't make boxes. As such, I don't like throwing things away that have already done those things for me easily, especially not when I could upcycle them into something more functional. I like working with things you were supposed to throw away because, if you mess up, you can still throw them away.
Since I just got this done and it's a fairly easy tutorial, I figured I'd share how I did it so you can make your own cluttertraps.
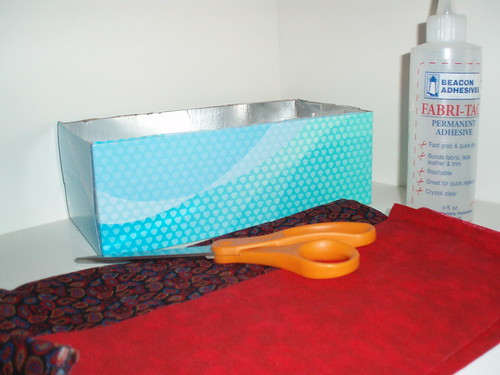
Supplies: Box (I cut the top off a kleenex box)
2 coordinating fabrics big enough to cover the box.
Fabri-tac or other fabric-friendly glue
Scissors
Toothpicks
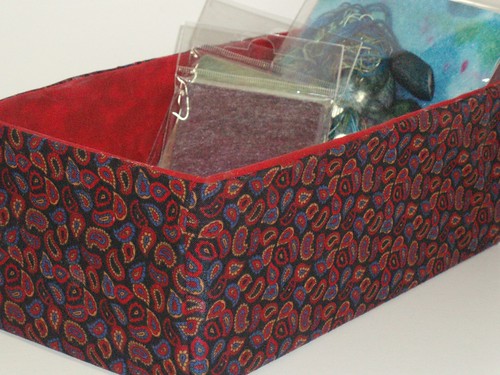
Pictures for a fabric covered box "cluttertrap" tutorial you can read all about on my blog!
Since this project was fairly easy and impromptu, I didn't do a lot of detailed photos. I mostly winged it.
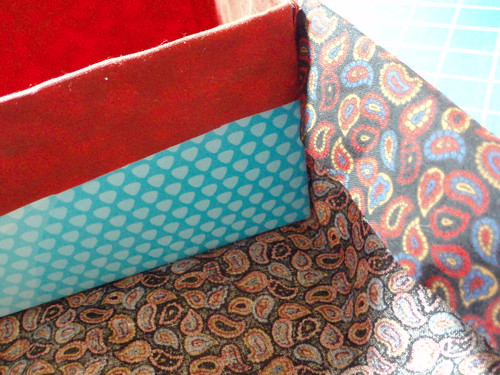
Lining your box:
I took a fat quarter (it was big enough) and centered it over the box, then glued the bottom in place, paying special attention to the corners. Because I used fabri-tac, it didn't take long to dry. Then I was ready for the next step.
I cut one edge (for the inside only) flush with the corner, and the other edge about 1/2" past the corner. Then I cut the top edge about an inch or so past the top of the box. I did this with each of my sides. The one edge that curls around to the next side is so that no silver (or whatever color the interior of your box is) shows through when you line your box.
The trickiest parts to glue will be where your 1st and 4th side meet. To make it easier, apply glue to the inside of the side you're going to tack down starting about an inch away from the corner with the flush fabric edge. Also add a stripe of glue to tack down the half inch that folds around the corner to side two. Glue side one in place (remembering that the side that meets with the corner won't be tacked down) and smooth it out before the glue dries. Do this with sides two and 3, gluing down the entire side (instead of leaving the 1 inch space unglued). The trickiest part of side 4 will be where you have to tuck the edge of the fabric under side 1 (which is why you left it unglued). The rest of the lining should go on smoothly.
If you're having problems getting the edge fabric from side 4 under the fabric from side 1, you can use the edge of your scissors or a toothpick to tuck it underneath.
Once your sides are done, you can fold the lining over the top edge and glue it in place on the outside of your box.
Fabric shell for your box:
Now it's time for the outside.
I cut a piece of fabric that would be large enough to cover my entire box (adding about 2 inches to the final cut size for seam allowances). I then glued the box down in the center of the fabric.
Once it dried, I started bringing my fabric up the sides, folding under the fabric at the top and lining up my fabric/box top edges.
I did a little creative cutwork here to shorten the extra fabric that I knew I'd have on some of the sides, and a lot of creative folding. How I did it is fairly simple. The important thing is that your end product (the corner) should look like this.
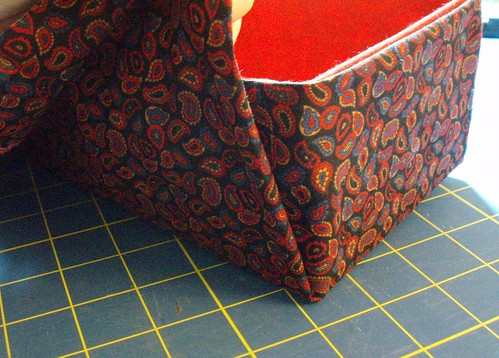
To properly glue down the corners (and have them line up properly)...
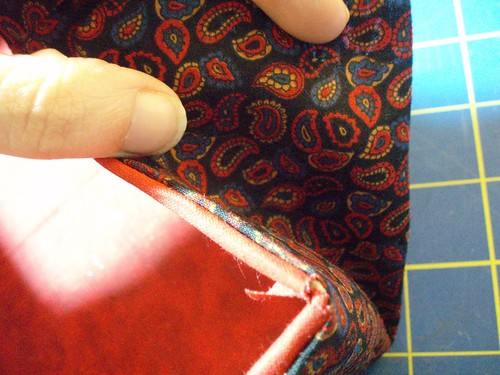
You'll want to glue down over the bottom layer of fabric inside that triangle.
Once you get your outside tacked down and smoothed out properly, you might notice that the fabric gaps a bit because (to keep the glue from smooshing out and ruining your fabric) you glued a bit away from the edge.
Easy fix!
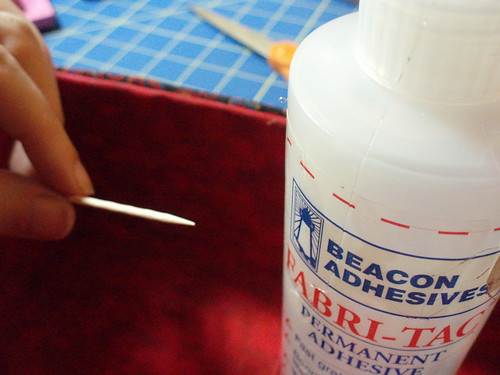
Use the toothpicks to grab up some glue so you can apply it more precisely and seal up your edges.
If you used fabri-tac, it'll dry in a couple of minutes and you can start loading it with stuff.
When you see how easy it was, you'll want to make oodles in tons of different sizes. I'm trying my hardest not to start digging through my stash of shipping boxes to 'fix' them.
If you're looking for other craft ideas, you might want to check out the article I did last month listing some of the best new craft project ideas on the web. Some of mine are there, too, just in case you haven't had enough of my kamikaze crafting style.
Happy crafting!
1 comment:
I have a serious container fetish and I love this idea! I have several old boxes I can go try this on right now. Thank you!
Post a Comment